.svg)
.svg)
.svg)


.svg)


.svg)
.svg)

.svg)

This article helps you configure AlwaysOn on a non domain and AD environment. Before starting the configuration, let's walk through the prerequisites: a DNS server, three workgroup Windows servers, and MS SQL Server Standard/Enterprise. For more details on version and edition compatibility, please visit the Microsoft website.
Below is my demo server setup:
Server 1:
ServerName: WIN-VM1
IP: 10.0.0.2
Purpose: To configure DNS service
Server 2:
ServerName: WIN-VM2
IP: 10.0.0.5
Purpose: MSSQL Instance
Server 3:
ServerName: WIN-VM3
IP: 10.0.0.6
Purpose: MSSQL Instance
Now to begin with DNS configuration, the DNS service needs to be installed from Server Manager. Click on Add roles & features to select DNS services, then click next to begin the setup. Select DNS service from the list and click install to complete the DNS setup.
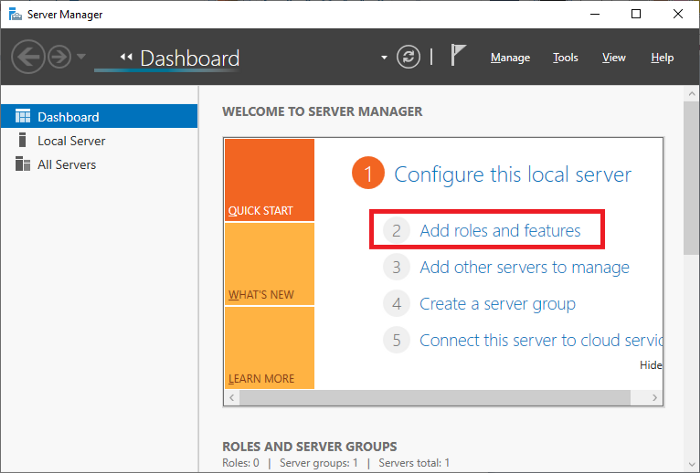
Once the DNS service is installed, restart the Windows server.
After the restart, follow these steps on the DNS service to create an FQDN. Click on Forward Lookup Zone in DNS Manager, right click it and select "New Zone", then follow the instructions to configure DNS. Select Primary Zone, provide the preferred DNS zone name (example: geopits.com), and provide a file name for the new zone creation.
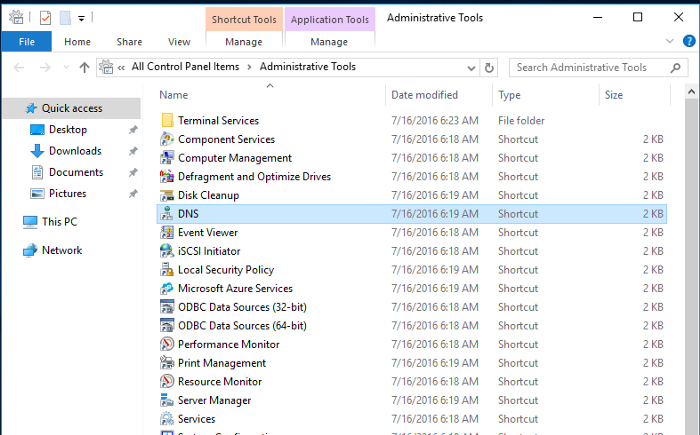
Choose "allow both nonsecure and secure dynamic updates" (check with your system admin for option changes), then click finish to complete the setup. Make sure the status shows as running.
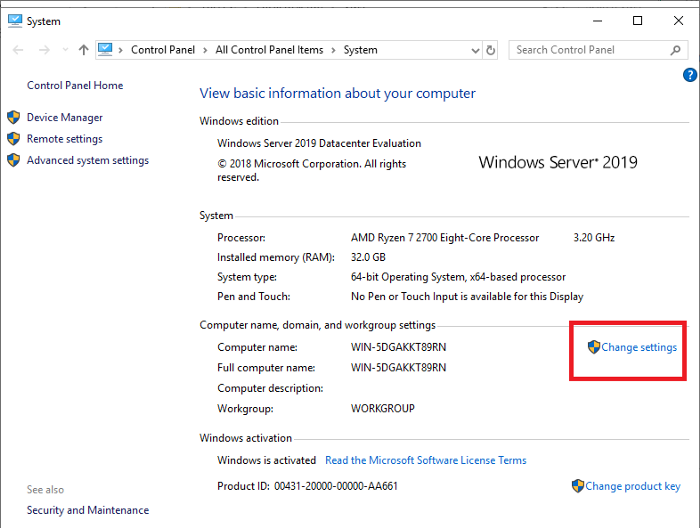
Now go to each server's computer properties to change or add DNS suffixes. Click the Change button, then click More, and add the created DNS suffix name. Perform a reboot after these changes, and repeat the same operations on all nodes to make sure the computer name looks like computername.test.com (FQDN).
Now check the DNS service to make sure all your servers are reflecting correctly. If a hostname is not reflecting in DNS Manager, add it manually by right clicking and selecting New Host, then provide the server details manually.
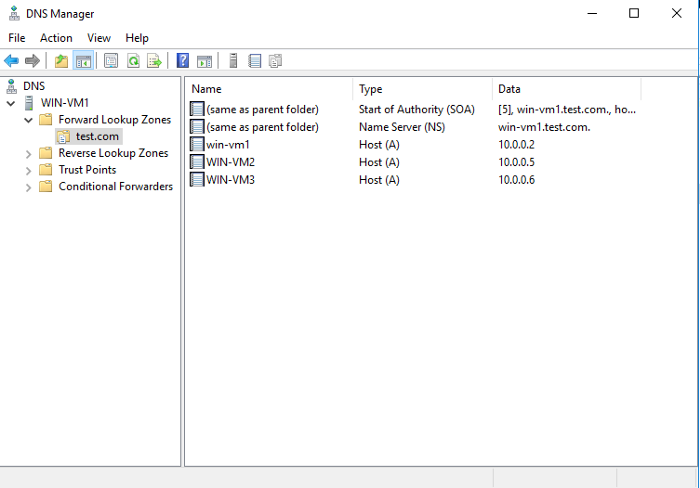
Now go to network settings on each server: right click the adapter and click properties, click IPv4 and select properties, then select the preferred DNS server address and enter the DNS server IP.
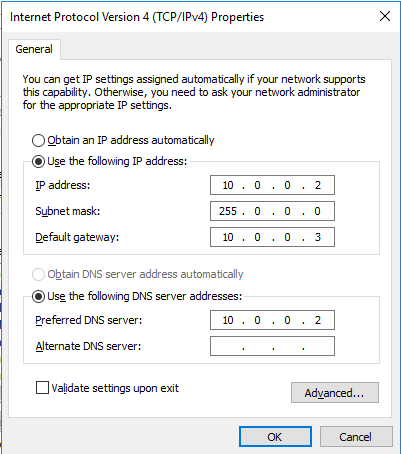
After making these changes, make sure you are able to ping the server using the FQDN.

Further, proceed to configure AlwaysOn using certificates.
Thirunavukkarasu RM
.svg)
.svg)